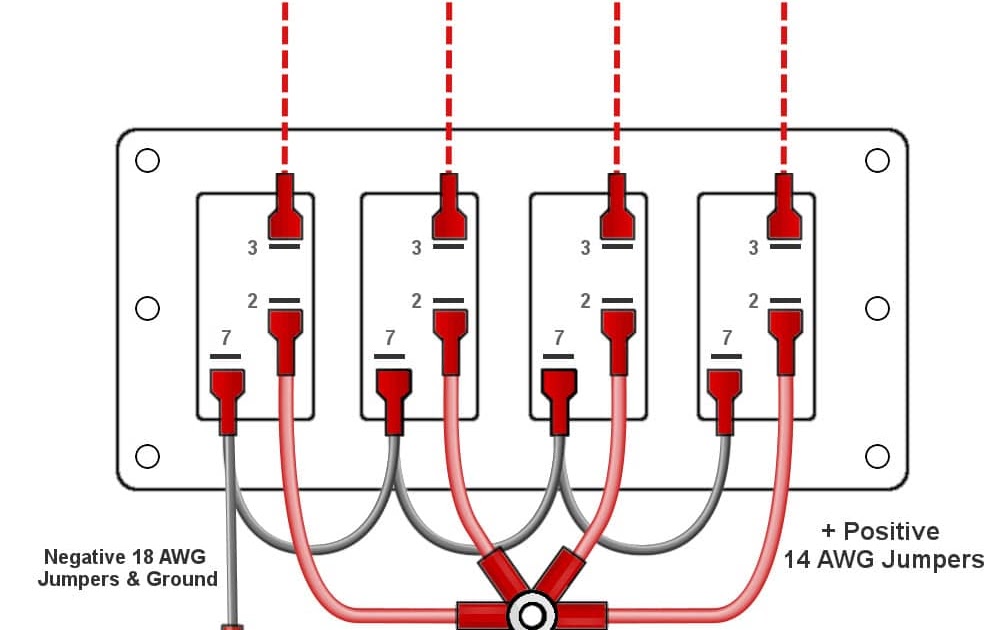
A 5 Pin Rocker Switch Wiring Diagram depicts the electrical connections for a 5-pin rocker switch. An example is a unipolar double throw (UPDT) switch used to control lighting in a room; it has three terminals for the electrical load and two for the power source.
Such diagrams are essential for accurate wiring, ensuring safe operation and optimal performance. They simplify the wiring process, reduce errors, and facilitate troubleshooting. The development of standardized wiring diagrams has played a significant historical role in the safe and efficient use of electrical systems.
This article delves into the functions of a 5 Pin Rocker Switch Wiring Diagram, exploring its components, applications, and safety considerations. By understanding these diagrams, readers can navigate electrical projects with confidence and ensure reliable system operation.
Understanding the essential aspects of a 5 Pin Rocker Switch Wiring Diagram is crucial for its proper installation and use. These aspects encompass various dimensions, influencing the switch’s functionality, safety, and efficiency.
- Terminal Identification
- Wiring Configuration
- Power Rating
- Switch Type
- Circuit Compatibility
- Mounting Options
- Safety Features
- Durability
- Industry Standards
- Troubleshooting Techniques
Each of these aspects plays a vital role in ensuring the switch operates safely and effectively. For instance, terminal identification helps ensure proper connections, preventing electrical hazards. Similarly, understanding the switch type and circuit compatibility is essential for selecting the right switch for the intended application. By considering all these aspects in conjunction, individuals can make well-informed decisions regarding the selection, installation, and maintenance of 5 Pin Rocker Switch Wiring Diagrams.
Terminal Identification
Terminal identification is a crucial aspect of 5 Pin Rocker Switch Wiring Diagrams, ensuring proper connections and preventing electrical hazards. It involves identifying the specific terminals on the switch and understanding their functions and corresponding wire connections.
-
Terminal Markings
Terminals are typically marked with numbers or letters to indicate their purpose. For instance, “L” for line (power source), “N” for neutral, and “L1” and “L2” for load terminals.
-
Terminal Shape
Different terminals may have unique shapes or sizes to prevent incorrect connections. For example, ground terminals often have a different shape or color to distinguish them from other terminals.
-
Terminal Arrangement
The arrangement of terminals on the switch can vary depending on the switch type and function. It is essential to consult the wiring diagram to identify the correct terminal connections.
-
Terminal Compatibility
Terminals are designed to accommodate specific wire sizes and types. Using incompatible wires can lead to loose connections, overheating, and potential safety hazards.
Understanding terminal identification empowers individuals to make accurate and safe electrical connections when installing or troubleshooting 5 Pin Rocker Switch Wiring Diagrams. It ensures the switch operates as intended, preventing malfunctions and electrical accidents.
Wiring Configuration
Wiring configuration plays a pivotal role within a 5 Pin Rocker Switch Wiring Diagram. It outlines the specific arrangement of wires and their connections to the switch terminals, ensuring the switch operates as intended.
The wiring configuration determines the functionality of the switch. For instance, a single-pole, double-throw (SPDT) switch requires a different wiring configuration compared to a double-pole, single-throw (DPST) switch. Understanding the wiring configuration is crucial for proper switch operation and preventing electrical hazards.
Real-life examples of wiring configurations in 5 Pin Rocker Switch Wiring Diagrams include controlling single or multiple lights, switching between different power sources, or isolating circuits for maintenance. Practical applications extend to various industries, including electrical installations, home automation, and industrial control systems.
In summary, wiring configuration is an integral component of 5 Pin Rocker Switch Wiring Diagrams, dictating the switch’s behavior and ensuring its safe and effective operation. Understanding wiring configurations empowers individuals to design, install, and troubleshoot electrical systems confidently, meeting specific application requirements and adhering to electrical safety standards.
Power Rating
Within the realm of 5 Pin Rocker Switch Wiring Diagrams, power rating holds critical importance, influencing the switch’s ability to handle electrical loads safely and effectively. It encompasses various facets, each contributing to the overall functionality and safety of the switch.
-
Current Rating
This specification defines the maximum amount of current the switch can safely carry without overheating or causing damage. Exceeding the current rating can lead to premature switch failure and electrical hazards.
-
Voltage Rating
Specifies the maximum voltage the switch can withstand without electrical breakdown. Using a switch with an insufficient voltage rating can result in arcing, insulation failure, and potential shock hazards.
-
Wattage Rating
Indicates the maximum power the switch can handle, calculated by multiplying the current and voltage ratings. Exceeding the wattage rating can lead to switch burnout and circuit malfunctions.
-
Load Type
Different types of electrical loads, such as resistive, inductive, or capacitive, can affect the switch’s performance and lifespan. Understanding the load type is crucial for selecting a switch with appropriate ratings.
Considering these facets empowers individuals to choose the correct 5 Pin Rocker Switch based on the specific electrical requirements of their application. Adhering to the power rating specifications ensures safe and reliable operation, preventing switch failures and potential electrical hazards.
Switch Type
Within the realm of 5 Pin Rocker Switch Wiring Diagrams, “Switch Type” holds significance, as it determines the specific characteristics and functionalities of the switch. Understanding the various switch types empowers individuals to select the most suitable switch for their specific application, ensuring optimal performance and safety.
-
SPDT (Single-Pole Double-Throw)
This type of switch has three terminals and two positions. It allows for controlling a single circuit with two different outcomes, making it ideal for applications like switching between two lights or power sources.
-
DPDT (Double-Pole Double-Throw)
Featuring six terminals and four positions, DPDT switches can control two separate circuits simultaneously. This versatility makes them suitable for applications such as reversing the direction of motors or isolating circuits for maintenance.
-
ON-OFF-ON
These switches have three terminals and three positions, offering the ability to turn a circuit on or off from either side. They find applications in scenarios where momentary contact is required, such as doorbells or garage door openers.
-
Illuminated
Illuminated switches incorporate a small light that illuminates the switch when activated. This feature enhances visibility in dimly lit areas and provides a visual indication of the switch’s state.
These switch types represent a glimpse into the diverse range of options available within 5 Pin Rocker Switch Wiring Diagrams. Selecting the appropriate switch type is crucial for achieving the desired functionality, ensuring compatibility with the electrical system, and adhering to safety regulations. By comprehending the different switch types and their applications, individuals can make informed decisions when designing, installing, or troubleshooting electrical circuits.
Circuit Compatibility
Circuit compatibility lies at the heart of 5 Pin Rocker Switch Wiring Diagrams, ensuring seamless integration and safe operation within electrical circuits. It encompasses various facets that must be carefully considered for successful implementation.
-
Voltage Compatibility
The switch’s voltage rating must align with the voltage of the circuit it controls. Mismatched voltage can lead to switch failure or damage to connected components.
-
Current Capacity
The switch must be able to handle the amount of current flowing through the circuit. Exceeding the current rating can cause overheating, switch burnout, and potential fire hazards.
-
Load Type
The switch should be compatible with the type of load it controls, such as resistive, inductive, or capacitive loads. Mismatched load types can affect switch performance and lifespan.
-
Switch Function
The switch type must match the intended function within the circuit. For example, a SPDT switch is suitable for controlling a single circuit, while a DPDT switch can handle two separate circuits.
Understanding and adhering to circuit compatibility guidelines is paramount for ensuring the proper and safe operation of 5 Pin Rocker Switch Wiring Diagrams. By considering these factors, individuals can select and install switches that are compatible with their specific electrical systems, preventing malfunctions, damage, and potential hazards.
Mounting Options
Within the realm of 5 Pin Rocker Switch Wiring Diagrams, “Mounting Options” play a crucial role in determining the switch’s physical installation and integration within electrical systems. These options directly influence the switch’s placement, stability, and overall functionality.
Mounting options encompass various aspects, including panel mounting, surface mounting, and PCB mounting. Panel mounting involves securing the switch within a panel or enclosure, providing a flush and professional appearance. Surface mounting, on the other hand, allows the switch to be attached directly onto a surface, offering flexibility in placement. PCB mounting integrates the switch directly onto a printed circuit board, enabling compact designs and space optimization.
Understanding and selecting the appropriate mounting option is critical for ensuring the switch’s proper operation and longevity. Factors such as the switch’s intended location, environmental conditions, and mechanical constraints must be considered. Real-life examples include mounting a rocker switch on a control panel in an industrial setting, surface mounting a switch on a wall for home automation, or integrating a switch onto a PCB for a compact electronic device.
By carefully considering mounting options and their impact on 5 Pin Rocker Switch Wiring Diagrams, individuals can ensure reliable switch performance, enhance system aesthetics, and meet specific application requirements. This understanding contributes to the overall safety, efficiency, and functionality of electrical systems, empowering professionals and enthusiasts alike to design and implement robust and innovative solutions.
Safety Features
Within the context of 5 Pin Rocker Switch Wiring Diagrams, “Safety Features” occupy a paramount position, ensuring the safe and reliable operation of electrical systems. These features encompass various aspects that contribute to the overall protection of users and equipment.
-
Insulation
Insulation materials surrounding the switch and its terminals prevent electrical shock and short circuits. Real-life examples include rubber or plastic coatings that provide a non-conductive barrier.
-
Overload Protection
These features, such as fuses or circuit breakers, safeguard the switch and connected components from excessive current flow, preventing overheating and potential fires.
-
Arc Suppression
When a switch is opened under load, an electric arc can occur. Arc suppression mechanisms, like contact shields or quenching chambers, minimize arcing, reducing contact wear and preventing electrical hazards.
-
Environmental Protection
Enclosures and seals protect the switch from environmental factors like dust, moisture, or corrosive substances, ensuring reliable operation in harsh conditions.
These safety features are integral parts of 5 Pin Rocker Switch Wiring Diagrams, ensuring adherence to electrical codes and standards. They provide multiple layers of protection, mitigating risks associated with electrical systems and enhancing overall safety. Understanding and implementing these features empower individuals to design and install electrical circuits with confidence, prioritizing the well-being of users and the integrity of equipment.
Durability
Within the realm of 5 Pin Rocker Switch Wiring Diagrams, the concept of “Durability” holds immense significance, influencing the longevity, reliability, and overall performance of electrical systems. Durability encompasses the ability of the switch to withstand various environmental and operational stresses without compromising its functionality or safety.
The durability of a 5 Pin Rocker Switch Wiring Diagram is directly linked to the quality of its components and the precision of its design. High-quality materials, such as robust plastics and corrosion-resistant metals, enhance the switch’s resistance to wear and tear, ensuring extended service life. Additionally, meticulous attention to design factors, such as contact design and actuation force, contributes to the switch’s ability to withstand repeated operations without failure.
Real-life examples of durability in 5 Pin Rocker Switch Wiring Diagrams are evident in industrial settings, where switches are subjected to harsh conditions, including extreme temperatures, vibrations, and exposure to chemicals. In such applications, durable switches ensure uninterrupted operation and minimize the risk of system downtime. Furthermore, in automotive applications, rocker switches must withstand the rigors of constant use and exposure to environmental elements, highlighting the critical role of durability in ensuring reliable performance.
Understanding the connection between durability and 5 Pin Rocker Switch Wiring Diagrams empowers individuals to make informed decisions when selecting and installing switches. By prioritizing durability, they can enhance the lifespan of electrical systems, reduce maintenance costs, and ensure the safety and reliability of their operations. This understanding is particularly important in critical applications, such as medical equipment, industrial automation, and transportation systems, where the consequences of switch failure can be severe.
Industry Standards
Within the realm of electrical engineering and design, “Industry Standards” play a pivotal role in ensuring the safety, reliability, and interoperability of electrical systems. These standards establish a common set of guidelines and specifications that manufacturers and practitioners must adhere to, creating a standardized framework for the design and implementation of electrical components and systems.
In the context of “5 Pin Rocker Switch Wiring Diagrams,” industry standards serve as a critical foundation, providinginstructions on the proper wiring, installation, and use of these switches. By conforming to these standards, manufacturers can ensure that their products meet the required safety and performance criteria, while practitioners can have confidence that they are using switches that are compatible with other components in the electrical system.
Real-life examples of industry standards that apply to 5 Pin Rocker Switch Wiring Diagrams include the National Electrical Code (NEC) in the United States and the International Electrotechnical Commission (IEC) 60669-1 standard. These standards specify the minimum requirements for the design, construction, and installation of electrical equipment, including switches, to ensure the safety and reliability of electrical systems.
Understanding the connection between industry standards and 5 Pin Rocker Switch Wiring Diagrams is essential for anyone involved in the design, installation, or maintenance of electrical systems. By adhering to these standards, individuals can ensure that their electrical systems meet the highest levels of safety and reliability, minimizing the risk of accidents, downtime, and costly repairs.
Troubleshooting Techniques
Within the realm of electrical engineering, “Troubleshooting Techniques” play a critical role in the maintenance and repair of electrical systems. These techniques provide a systematic approach to identifying and resolving faults, ensuring the safe and efficient operation of electrical components and systems.
In the context of “5 Pin Rocker Switch Wiring Diagrams,” troubleshooting techniques are an essential component, enabling technicians and engineers to diagnose and repair any issues that may arise with the switch or the circuit it controls. By following a structured troubleshooting process, professionals can quickly and effectively identify the root cause of a problem and implement the appropriate corrective actions.
Real-life examples of troubleshooting techniques applied to 5 Pin Rocker Switch Wiring Diagrams include: Verifying the continuity of the circuit using a multimeter Inspecting the switch terminals for loose connections or damage Testing the switch with a known-good power source Replacing the switch if it is found to be faulty
Understanding the practical applications of troubleshooting techniques in 5 Pin Rocker Switch Wiring Diagrams is essential for anyone involved in the installation, maintenance, or repair of electrical systems. These techniques empower individuals to diagnose and resolve electrical issues with greater accuracy and efficiency, minimizing downtime and potential safety hazards.


Related Posts


