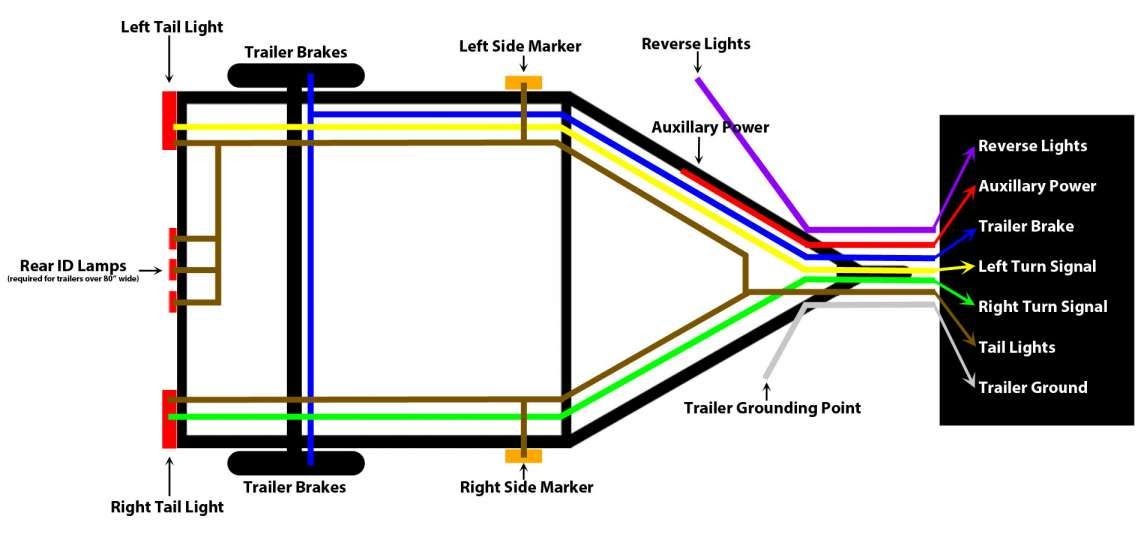
A 3-Wire LED Tail Light Wiring Diagram provides detailed instructions for connecting a three-wire LED tail light to a vehicle’s electrical system. Each wire serves a specific function: ground (black), tail light (green), and brake light (red). For instance, in a car’s rear light assembly, the black wire connects to the vehicle’s frame or body, the green wire to the tail light socket, and the red wire to the brake light socket.
The 3-Wire LED Tail Light Wiring Diagram holds immense importance as it ensures proper installation of LED tail lights, enhancing vehicle safety and longevity. Its relevance lies in providing a structured and standardized approach to electrical wiring, minimizing errors and potential hazards. Historically, the introduction of LED (Light-Emitting Diode) technology revolutionized tail light design, offering superior brightness, energy efficiency, and increased lifespan, necessitating the development of updated wiring diagrams for optimal performance.
In the forthcoming sections, we delve into the technical complexities of a 3-Wire LED Tail Light Wiring Diagram, exploring its components, connection methods, and potential troubleshooting scenarios. This comprehensive analysis is intended to empower individuals with the knowledge and skills to effectively install and maintain their vehicle’s LED tail lights, ensuring reliable and safe operation.
The essential aspects of a 3-Wire LED Tail Light Wiring Diagram form the cornerstone of effective and safe installation and maintenance of LED tail lights. Each aspect plays a crucial role in ensuring proper functionality and longevity of the lighting system.
- Ground Wire: Establishes electrical connection to the vehicle’s frame.
- Tail Light Wire: Provides power to the tail light bulbs.
- Brake Light Wire: Powers the brake light bulbs when the brake pedal is depressed.
- Wire Gauge: Determines the thickness and current-carrying capacity of the wires.
- Wire Length: Ensures sufficient reach from the light assembly to the vehicle’s electrical system.
- Connector Type: Facilitates secure and weather-resistant connections between wires.
- Soldering or Crimping: Methods for creating permanent and reliable electrical connections.
- Circuit Protection: Fuses or circuit breakers safeguard the electrical system against overloads.
Understanding these key aspects enables individuals to comprehend the intricacies of a 3-Wire LED Tail Light Wiring Diagram, make informed decisions regarding wire selection and installation techniques, and troubleshoot potential issues effectively. By adhering to the guidelines provided in the diagram, they can ensure the optimal performance and longevity of their vehicle’s LED tail lights, enhancing overall safety and visibility on the road.
Ground Wire
Within the context of a 3-Wire LED Tail Light Wiring Diagram, the ground wire plays a critical role in establishing a complete electrical circuit, enabling the proper functioning of the tail lights. Without a proper ground connection, the electrical current cannot flow, rendering the tail lights inoperable.
The ground wire serves as a pathway for the electrical current to return to the vehicle’s electrical system, completing the circuit. One end of the ground wire is connected to the negative terminal of the vehicle’s battery, while the other end is connected to the metal frame or body of the vehicle. This connection to the vehicle’s frame provides a low-resistance path for the current to flow, ensuring a reliable ground connection.
In practical applications, the ground wire is typically black and is often connected to a metal bracket or bolt on the vehicle’s frame or body. This ensures a secure and weather-resistant connection, preventing corrosion or loose connections that could compromise the ground path. Proper grounding is essential for the safety and reliability of the vehicle’s electrical system, including the tail lights.
Understanding the importance of the ground wire in a 3-Wire LED Tail Light Wiring Diagram empowers individuals to troubleshoot and resolve electrical issues effectively. By ensuring a proper ground connection, they can maintain the optimal performance and longevity of their vehicle’s LED tail lights, contributing to overall safety and visibility on the road.
Tail Light Wire
Within the context of a 3-Wire LED Tail Light Wiring Diagram, the tail light wire plays a critical role in supplying electrical power to the tail light bulbs, enabling them to illuminate and perform their intended function. Without a proper power supply, the tail lights would be unable to operate, compromising the vehicle’s visibility and safety on the road.
The tail light wire serves as a conduit for electrical current to flow from the vehicle’s electrical system to the tail light bulbs. One end of the tail light wire is connected to the positive terminal of the vehicle’s battery or a dedicated power source, while the other end is connected to the tail light socket or assembly. This connection provides a complete electrical circuit, allowing current to flow through the tail light bulbs, illuminating them and signaling to other road users.
In real-life applications, the tail light wire is typically green and is often connected to a connector or terminal on the tail light assembly. This connection ensures a secure and weather-resistant electrical contact, preventing interruptions or malfunctions due to loose connections or corrosion. Proper wiring of the tail light wire is essential for the reliable operation of the tail lights, contributing to the overall safety and visibility of the vehicle.
Understanding the connection between the tail light wire and the 3-Wire LED Tail Light Wiring Diagram empowers individuals to troubleshoot and resolve electrical issues effectively. By ensuring a proper power supply to the tail light bulbs, they can maintain the optimal performance and longevity of their vehicle’s LED tail lights, contributing to overall safety and visibility on the road.
Brake Light Wire
Within the context of a 3-Wire LED Tail Light Wiring Diagram, the brake light wire plays a crucial role in activating the brake light bulbs, signaling to other road users when the vehicle is slowing down or stopping. This wire ensures proper functioning of the brake lights, enhancing safety and preventing potential accidents.
- Connection to Brake Switch: The brake light wire is connected to the brake switch, which is activated when the brake pedal is depressed. This completes the electrical circuit, allowing power to flow to the brake light bulbs.
- Bulb Illumination: When the brake pedal is depressed, the brake light wire supplies power to the brake light bulbs, causing them to illuminate. This provides a clear and visible signal to other vehicles, alerting them to the vehicle’s deceleration.
- Color and Labeling: In a 3-Wire LED Tail Light Wiring Diagram, the brake light wire is typically red and is often labeled as “Brake” or “BRK.” This color coding and labeling facilitate easy identification and proper connection during installation.
- Safety Implications: A properly functioning brake light wire is crucial for vehicle safety. Malfunctions or interruptions in this wire can result in non-functioning brake lights, compromising the vehicle’s ability to communicate its braking intentions to other road users.
Understanding the connection between the brake light wire and the 3-Wire LED Tail Light Wiring Diagram empowers individuals to troubleshoot and resolve electrical issues effectively. By ensuring a proper power supply to the brake light bulbs, they can maintain the optimal performance and longevity of their vehicle’s LED tail lights, contributing to overall safety and visibility on the road. Furthermore, adhering to the guidelines provided in the wiring diagram helps prevent potential hazards and ensures compliance with vehicle safety regulations.
Wire Gauge
Within the context of a 3 Wire LED Tail Light Wiring Diagram, the selection of appropriate wire gauge is crucial for ensuring safe and reliable electrical performance. Wire gauge, measured in American Wire Gauge (AWG), directly influences two critical factors: the thickness of the wire and its current-carrying capacity.
The thickness of the wire determines its ability to withstand mechanical stress and prevent breakage. Thicker wires, with a lower AWG number, are less susceptible to bending or stretching, making them suitable for applications where durability is paramount. In the context of a tail light wiring diagram, thicker wires are often used for the ground wire, which carries the highest electrical current.
The current-carrying capacity of a wire, measured in amperes (A), determines the maximum amount of electrical current that can safely flow through it without overheating or causing damage. Wires with a larger cross-sectional area, corresponding to a lower AWG number, have a higher current-carrying capacity. In a tail light wiring diagram, the wire gauge of the brake light wire is particularly important, as it carries the highest electrical current when the brake lights are activated.
By carefully selecting the appropriate wire gauge based on the expected electrical load and mechanical requirements, individuals can ensure that their 3 Wire LED Tail Light Wiring Diagram provides a safe and reliable connection for their vehicle’s tail lights. This understanding empowers them to make informed decisions during installation or troubleshooting, preventing potential electrical hazards and ensuring optimal performance of their tail light system.
Wire Length
Within the context of a 3 Wire LED Tail Light Wiring Diagram, wire length plays a critical role in ensuring proper installation, functionality, and safety of the tail light system. It determines the physical reach of the electrical wires from the light assembly to the vehicle’s electrical system, encompassing various components and considerations.
- Conductor Length: The length of the electrical conductors within the wire, which determines the resistance and voltage drop over the wire’s span.
- Tail Light Placement: The physical location and mounting position of the tail light assembly, influencing the required wire length to connect to the vehicle’s electrical system.
- Wire Routing: The path and routing of the wires, accounting for obstacles, bends, and protection from potential damage.
- Maintenance and Accessibility: Sufficient wire length allows for easier maintenance, repair, or replacement of the tail light assembly or electrical components.
Understanding the implications of wire length in a 3 Wire LED Tail Light Wiring Diagram empowers individuals to design, install, and maintain a reliable and functional tail light system. Careful consideration of these factors ensures that the wires can safely and effectively transmit electrical power and signals, preventing potential hazards or performance issues.
Connector Type
Within the context of a “3 Wire LED Tail Light Wiring Diagram,” connector type plays a pivotal role in ensuring the reliability, durability, and safety of electrical connections. Connectors facilitate the joining of wires, providing a secure and weather-resistant interface that prevents short circuits, power loss, and potential hazards.
- Terminal Type: Connectors utilize various terminal types, such as crimp terminals or screw terminals, to establish a secure physical and electrical connection with the wires. These terminals ensure a tight grip, preventing loose connections and ensuring reliable current flow.
- Housing Design: The housing of the connector provides protection against external elements, such as moisture, dust, and debris. It is typically made of durable materials like plastic or rubber, ensuring a weather-resistant seal that prevents corrosion and maintains electrical integrity.
- Locking Mechanisms: Many connectors incorporate locking mechanisms to prevent accidental disconnection. These mechanisms, such as bayonet locks or threaded couplings, provide a secure and vibration-resistant connection, ensuring uninterrupted electrical performance.
- Wire Insulation Compatibility: Connectors are designed to be compatible with specific wire insulation types and sizes. Matching the connector to the wire insulation ensures a proper fit, preventing insulation damage and potential short circuits.
Understanding the significance of connector type in a “3 Wire LED Tail Light Wiring Diagram” empowers individuals to select and install the appropriate connectors for their specific application. Proper connector selection ensures a secure and reliable electrical connection, contributing to the overall functionality, safety, and longevity of the tail light system.
Soldering or Crimping
In the context of a “3 Wire LED Tail Light Wiring Diagram,” establishing secure and reliable electrical connections is paramount for ensuring proper functionality and long-term durability of the tail light system. Among the essential techniques employed are soldering and crimping, each offering distinct advantages and applications.
-
Soldering:
Soldering involves joining electrical wires using a metal alloy with a lower melting point than the wires themselves. When heated, the solder melts and flows into the connection, creating a strong and permanent bond. This method is often favored for its high reliability and resistance to vibration.
-
Crimping:
Crimping utilizes a specialized tool to compress a metal sleeve or connector around the stripped ends of wires. This creates a secure mechanical connection by deforming the metal and ensuring a tight grip. Crimping is a relatively quick and convenient method, making it suitable for large-scale applications.
-
Heat Shrink Tubing:
Heat shrink tubing is a protective covering that is placed over a soldered or crimped connection and then heated. Upon heating, the tubing shrinks, providing insulation and protection against moisture, corrosion, and mechanical stress.
-
Wire Nuts:
Wire nuts are small, reusable connectors that are used to join multiple wires together. They are typically made of plastic or rubber and have a threaded interior that grips the wires when tightened. Wire nuts provide a quick and easy way to make temporary or permanent connections.
The choice between soldering and crimping depends on factors such as the type of wire, the desired strength of the connection, and the specific application requirements. Both methods offer reliable and long-lasting connections when executed properly, ensuring the optimal performance and longevity of the “3 Wire LED Tail Light Wiring Diagram.”
Circuit Protection
Within the context of a “3 Wire LED Tail Light Wiring Diagram,” circuit protection plays a critical role in ensuring the safety and reliability of the electrical system. Overloads, caused by excessive current flow, can lead to overheating, damage to components, and even electrical fires. Fuses and circuit breakers are essential components that safeguard the electrical system against such overloads.
Fuses are designed to break the circuit and prevent current flow when the electrical current exceeds a predetermined safe level. Circuit breakers, on the other hand, are resettable devices that automatically interrupt the circuit when an overload occurs and can be manually reset once the fault is corrected. Both fuses and circuit breakers provide a sacrificial path for the excessive current, protecting the more sensitive electrical components within the tail light system.
In real-life applications, fuses or circuit breakers are typically installed in the power supply line to the tail lights. When an overload occurs, the fuse blows or the circuit breaker trips, disconnecting the tail lights from the power source and preventing further damage. This protective measure ensures that the tail lights and associated wiring remain intact and functional, reducing the risk of electrical hazards and costly repairs.
Understanding the connection between circuit protection and a “3 Wire LED Tail Light Wiring Diagram” empowers individuals to design, install, and maintain a safe and reliable tail light system. Proper selection and installation of fuses or circuit breakers, based on the electrical load and system requirements, is crucial for preventing overloads and ensuring the longevity of the tail light system. By implementing effective circuit protection measures, individuals can contribute to the overall safety and performance of their vehicle’s electrical system.


Related Posts


